A Guide to Parade Photography: 10 Essential Tips for Photographers

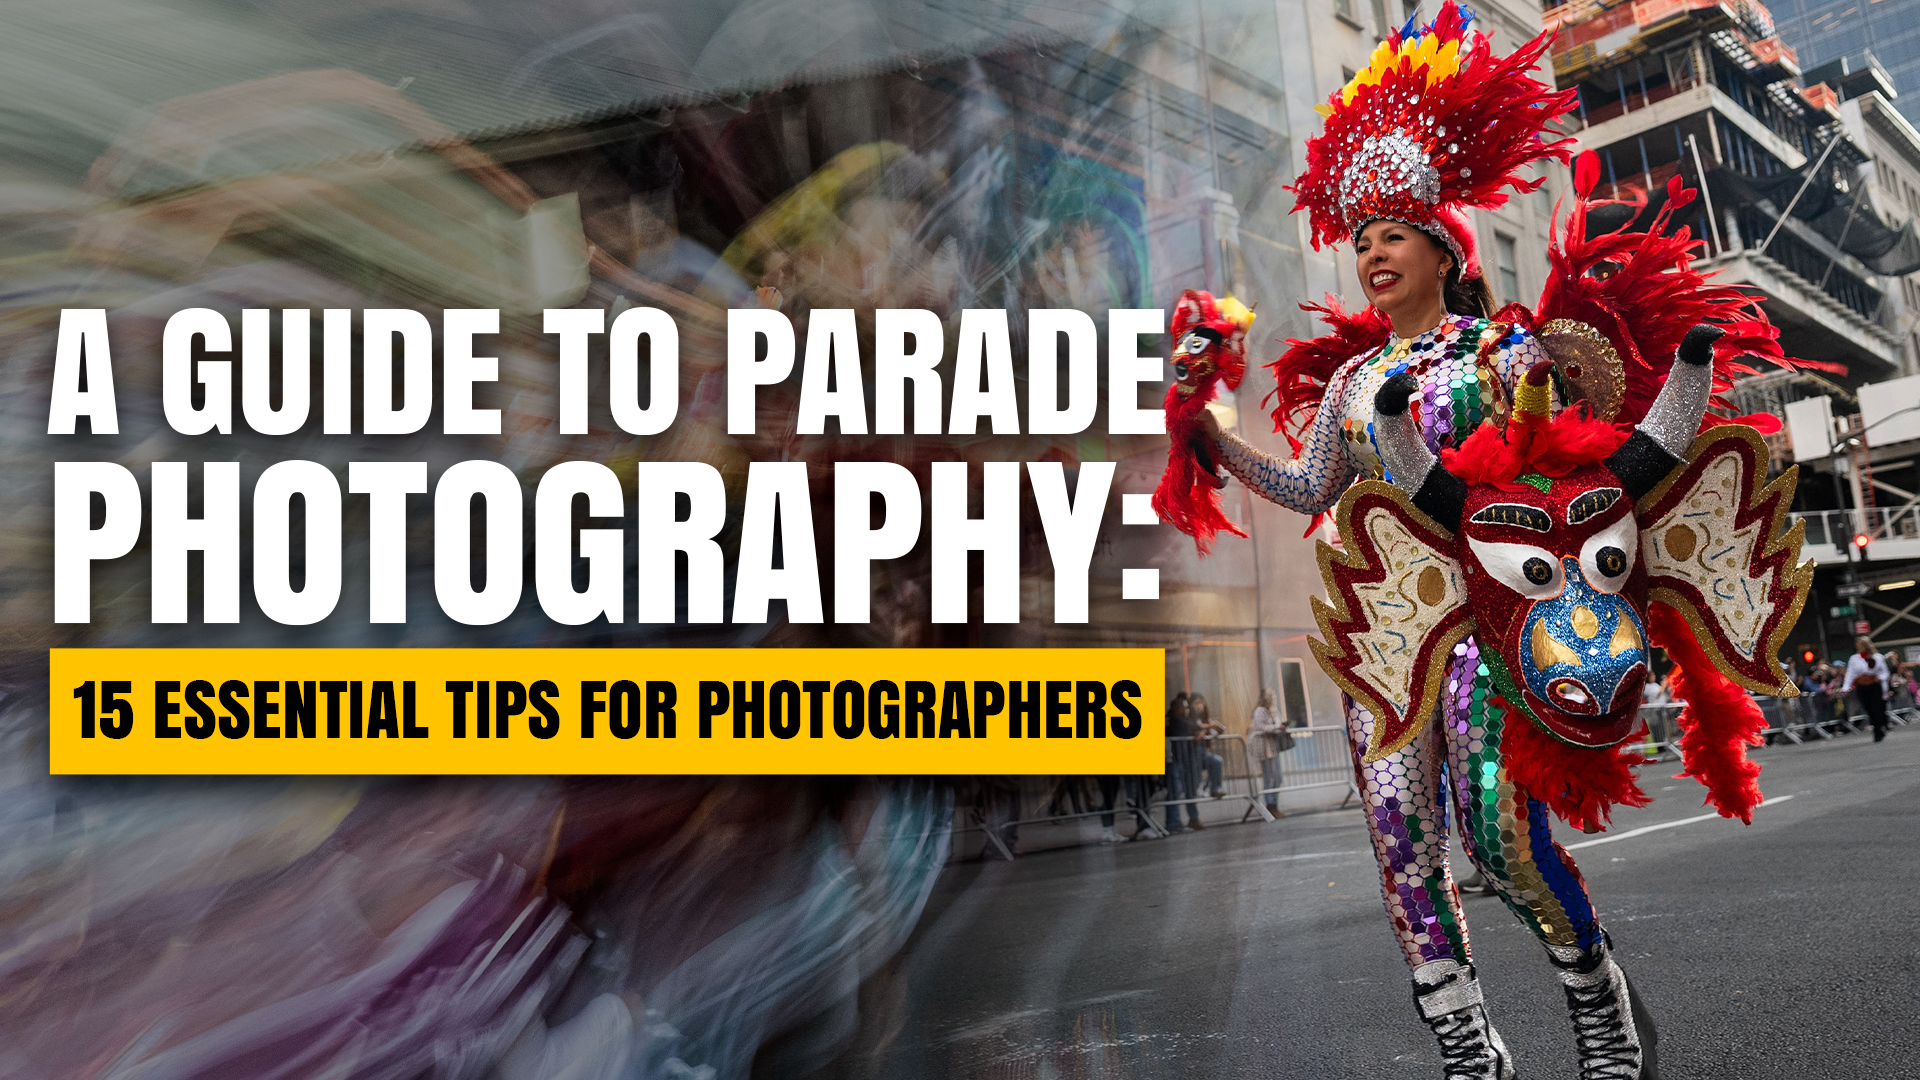
capturing the energy of a parade requires careful preparation, patience, and creativity. Whether you’re aiming for pride parade photography or a general street celebration, the right approach ensures that you not only get the shot but also enjoy the process. Here’s a practical guide on how to make the most out of your parade photography sessions.


How to Take Good Parade Photos?

One of the most crucial steps in parade photography tips is preparation. Before heading to the event, prepare the camera by adjusting essential settings like ISO, aperture, and shutter speed. Depending on the weather and lighting conditions, these can vary, so it’s helpful to test your settings in advance to avoid missing key moments.


Additionally, scouting the location early allows you to find the best spots before the crowds gather. Early arrival also gives you time to determine where the light will hit, which can help you plan compositions. Shooting during the golden hour can provide softer lighting for more flattering photos.


Once the parade starts, aim to capture candid moments. Parades are full of action, so focus on the natural, unscripted energy. Blending into the crowd allows you to observe genuine expressions and interactions, making for more compelling images.

10 Tips for Photographing Outdoor Events

  1. Prepare the Camera: Before stepping out, check your settings. Adjust your ISO to balance light sensitivity and avoid grainy images. For parade action, a faster shutter speed helps freeze the motion of moving floats and performers.
  2. Stay Hydrated: Photographing for extended hours outdoors can be exhausting. Bring a water bottle and drink regularly to maintain your focus and energy. Dehydration can lead to fatigue, which will negatively affect your concentration and, ultimately, the quality of your photos.
  3. Wear Comfortable Footwear: You’ll likely be on your feet for several hours. Comfortable, supportive footwear prevents unnecessary strain and allows you to move around freely without discomfort.
  4. Use a Lightweight Backpack or Sling: Carrying heavy equipment during an event can lead to back or shoulder pain. Opt for a lightweight, durable bag that can store only what’s necessary—your camera, an extra lens, memory cards, and water.
  5. Scout the Location Early: Getting to the parade route ahead of time gives you a chance to choose the best vantage points. Look for areas where you can get an unobstructed view, especially as the crowd starts to gather.
  6. Capture Candid Moments: The best shots often come when people are unaware of the camera. Use a longer focal length to zoom in and capture authentic, natural moments without intruding.
  7. Use Leading Lines in Composition: Incorporate street elements like lines on the road, fences, or even rows of spectators to guide the viewer’s eye through your photo. This creates a more structured and appealing composition.
  8. Vary Your Angles: Parades offer countless opportunities to get creative with angles. Try shooting from a low point to emphasize large floats or from above to capture the crowd’s movement. Changing perspectives keeps your photo collection varied and engaging.
  9. Work with Natural Light: Outdoor events like parades are often held during the day, so be mindful of the natural light. Harsh midday sun can cause unwanted shadows, so seek out shaded areas or adjust your exposure accordingly. For the best light, aim to shoot during early morning or late afternoon.
  10. Isolate Your Subject: When the crowd gets busy, using a wide aperture (small f-stop) can help you blur the background, drawing attention to your main subject. This technique is particularly useful in pride parade photography, where you want to highlight a colorful individual or group amidst the chaos.

Recommended Gear for Parade Photography

When it comes to parade photography, the right gear can make all the difference in capturing high-quality images. For an event like this, a versatile lens is key, and the 24-70mm G Master lens is an excellent choice. This lens offers a great focal range, allowing you to shoot wide shots of the entire parade as well as close-ups of individuals or detailed moments.

One of the standout features of the 24-70mm G Master is its sharpness. Even at wide apertures, the images remain crisp, making it perfect for isolating subjects from a busy background. Additionally, its fast aperture (f/2.8) enables you to shoot in various lighting conditions, from bright midday sun to the softer light of the golden hour.

Another advantage is its autofocus speed and accuracy, which helps you capture moving subjects quickly and sharply, especially in fast-paced parade environments. Whether you’re capturing floats, performers, or candid crowd moments, this lens ensures you don’t miss a beat.

Pairing this lens with a good full-frame camera will ensure that you capture every detail, from the vibrant colors of the parade to the finer elements of facial expressions and movement.

Lastly, remember to take breaks to avoid fatigue. Standing for hours can wear you down and impact your ability to focus. Take short pauses to sit, stretch, and refresh yourself so you can be alert for the perfect shot.


Si necesitas ayuda personalizada agenda tus 30 min de consultoría gratuita dando click aqui
Siguenos: websiteinstagramfacebook

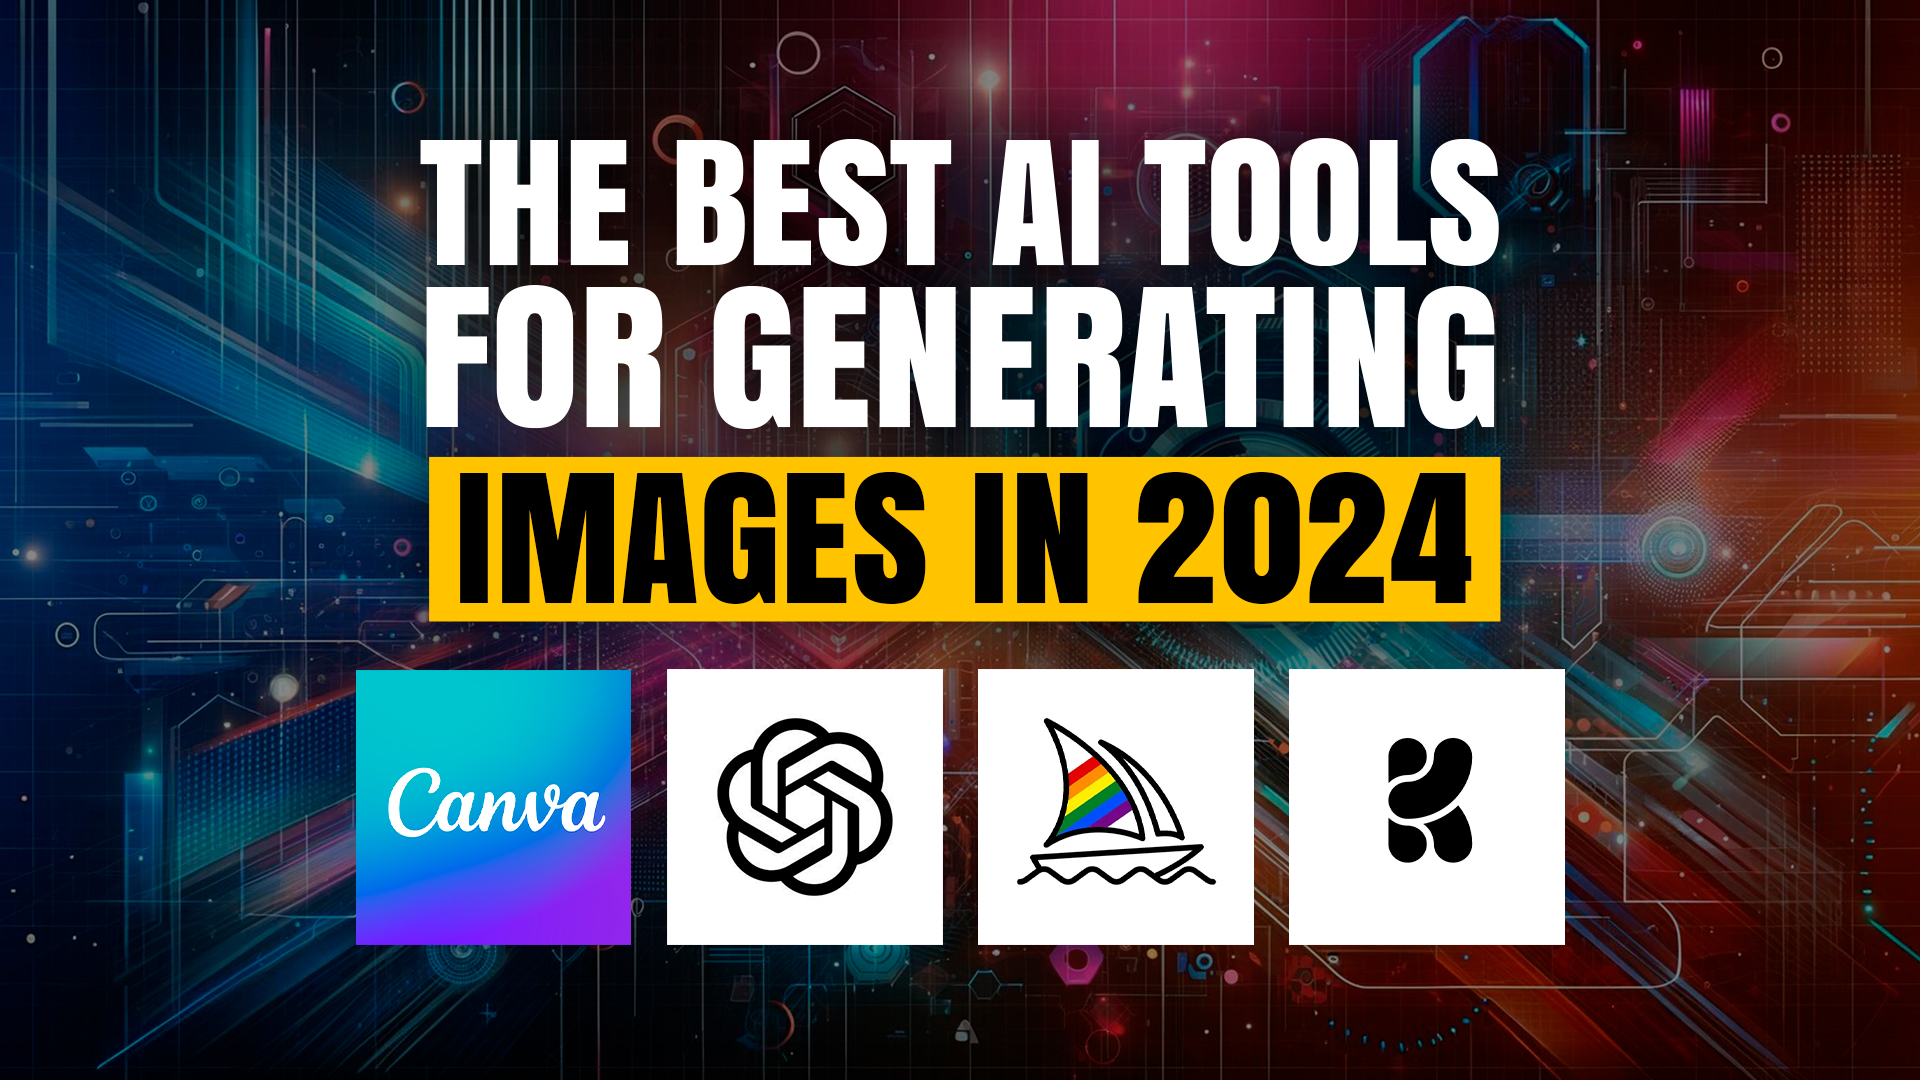
The Best AI Tools for Generating Images in 2024 – From Free to Premium

When it comes to creating stunning visuals, the rise of AI apps has been revolutionary. From graphic artists to casual content creators, everyone seems to be asking, “What is the app everyone is using for AI images?” As AI-generated images continue to grow in popularity, it’s clear that these apps are making the creative process more efficient, accessible, and impressive. Here’s a breakdown of the best AI apps that can help users generate, create, or modify images, whether you’re an artist, a marketer, or just someone looking to create content quickly and effectively.

AI Platforms for Artists and Graphic Designers

DALL·E 2: This AI platform is a game-changer for artists looking to push the boundaries of their creativity. By simply entering text prompts, DALL·E 2 generates highly detailed, often surreal images that can serve as a basis for new projects or standalone art pieces. Its ability to bring abstract concepts to life with precision makes it an essential tool for visual storytelling.

MidJourney: Known for its intricate, imaginative results, MidJourney is ideal for artists who want to create highly stylized, visually stunning images. Its AI is particularly skilled at generating art that feels otherworldly, offering a perfect balance of creativity and detail that can inspire artists in their personal or professional projects.

Artbreeder: For those who want more control over the creative process, Artbreeder allows users to “breed” images by blending different elements together. This platform is perfect for creating unique visual combinations and evolving existing designs, making it a powerful tool for artists and designers who want to experiment with endless creative possibilities.

Easy-to-Use AI Apps for Content Creators

While some AI apps are geared toward professional artists, others are made for anyone looking to create content quickly and with minimal effort.

KREA: Like other AI image generators designed for content creators, KREA makes it easy to generate customized visuals based on prompts or reference images. Whether you’re working on a marketing campaign or need visuals for social media, KREA allows users to create high-quality, brand-aligned images without needing advanced design skills. Its intuitive interface makes it accessible for anyone looking to create content efficiently, providing an excellent balance between creativity and usability.

Fotor AI: is a practical tool for enhancing and modifying images, ideal for content creators who need a simple yet powerful platform to quickly edit and generate visuals for social media, blogs, or other marketing materials.

Canva with AI integration and Jasper Art: are perfect for content creators who may not have a background in graphic design but still need high-quality visuals. These apps use AI to automate much of the design process, making them highly intuitive and accessible. Users can generate visuals, such as social media posts or marketing materials, simply by entering text prompts, or they can modify existing images with ease.


Runway ML and Pictory AI: are also game-changers in the world of content marketing, enabling users to generate images and even videos based on written content. With these apps, creating eye-catching visuals for blogs, websites, or social media platforms is no longer a time-consuming task. Instead, AI takes over, allowing for rapid creation of relevant, high-quality images that are sure to engage your audience.

Deep Dream Generator: while artistic and often used for creating surreal, dream-like images, is accessible to anyone looking to experiment with creative effects. It’s perfect for users who want to create unique visuals without the steep learning curve.

Free vs. Paid AI Image Generators

Deep Dream Generator: Free with basic features. Deep Dream Generator allows users to create surreal, dream-like images at no cost, though more advanced features and higher resolution outputs require a paid subscription.

NightCafe: Free version available, with credits to generate a limited number of images. Paid plans offer more frequent usage and higher-quality outputs, but casual users can experiment with AI art for free.

Artbreeder: Free to use with limitations on how many images you can generate and download. Paid tiers unlock more customization options and faster processing, but the free version offers plenty of creative opportunities for beginners.

Canva with AI integration: Freemium model. Canva offers a free version with basic tools and access to AI-generated content. However, the Pro version, which costs around $12.99 per month, provides access to premium images, templates, and advanced AI features.

Fotor AI: Freemium. Fotor AI provides free access to basic photo editing features and AI tools. For access to more advanced functionalities, users need to subscribe to the paid Pro version, starting at $8.99 per month.

Pictory AI: Offers a free trial, after which users can subscribe to premium plans starting at $19 per month. This AI tool focuses on video creation but includes powerful image generation and editing features for creators.

Runway ML: Free trial available, after which paid plans start at $15 per month. It offers more advanced features such as real-time collaboration and high-quality image and video generation for those working on larger creative projects.

MidJourney: Paid service starting at $10 per month. While there is no free tier, MidJourney offers highly detailed, imaginative image generation that is well worth the subscription for professionals looking for advanced AI art tools.

Jasper Art: Comes with a 5-day free trial, but requires a subscription of $20 per month afterward. Jasper Art offers high-quality image generation from text prompts and integrates seamlessly with Jasper’s other content creation tools.

DALL·E 2: Paid per use, with free credits available each month. After the free credits are used, image generation costs start at $0.13 per prompt. Though not the cheapest, it offers some of the most advanced and precise AI-generated images available.

Si necesitas ayuda personalizada agenda tus 30 min de consultoría gratuita dando click aqui
Siguenos: websiteinstagramfacebook

Men’s Headshot Photography: How to Capture Confidence and Style

Portrait photography is about more than just capturing a face; it’s about revealing a subject’s personality and essence in a single frame. Professional headshots, in particular, are widely used in corporate and personal branding, aiming to project confidence, professionalism, and individuality. But what exactly defines portrait photography, and how can you take striking portraits, especially when photographing men? This guide explores the key elements of portrait photography, from its definition to practical tips for capturing memorable images.

What is Portrait Photography?

Portrait photography focuses on the subject, typically highlighting the face, with the goal of conveying character, emotion, or mood. Whether it’s for corporate professional headshots or artistic representations, portraits have the unique ability to freeze a moment that tells a story. While a head shot photo is often used in professional settings, portrait photography spans a broader range of styles, including environmental portraits that incorporate the subject’s surroundings to add context.

How to Take Great Portrait Photos

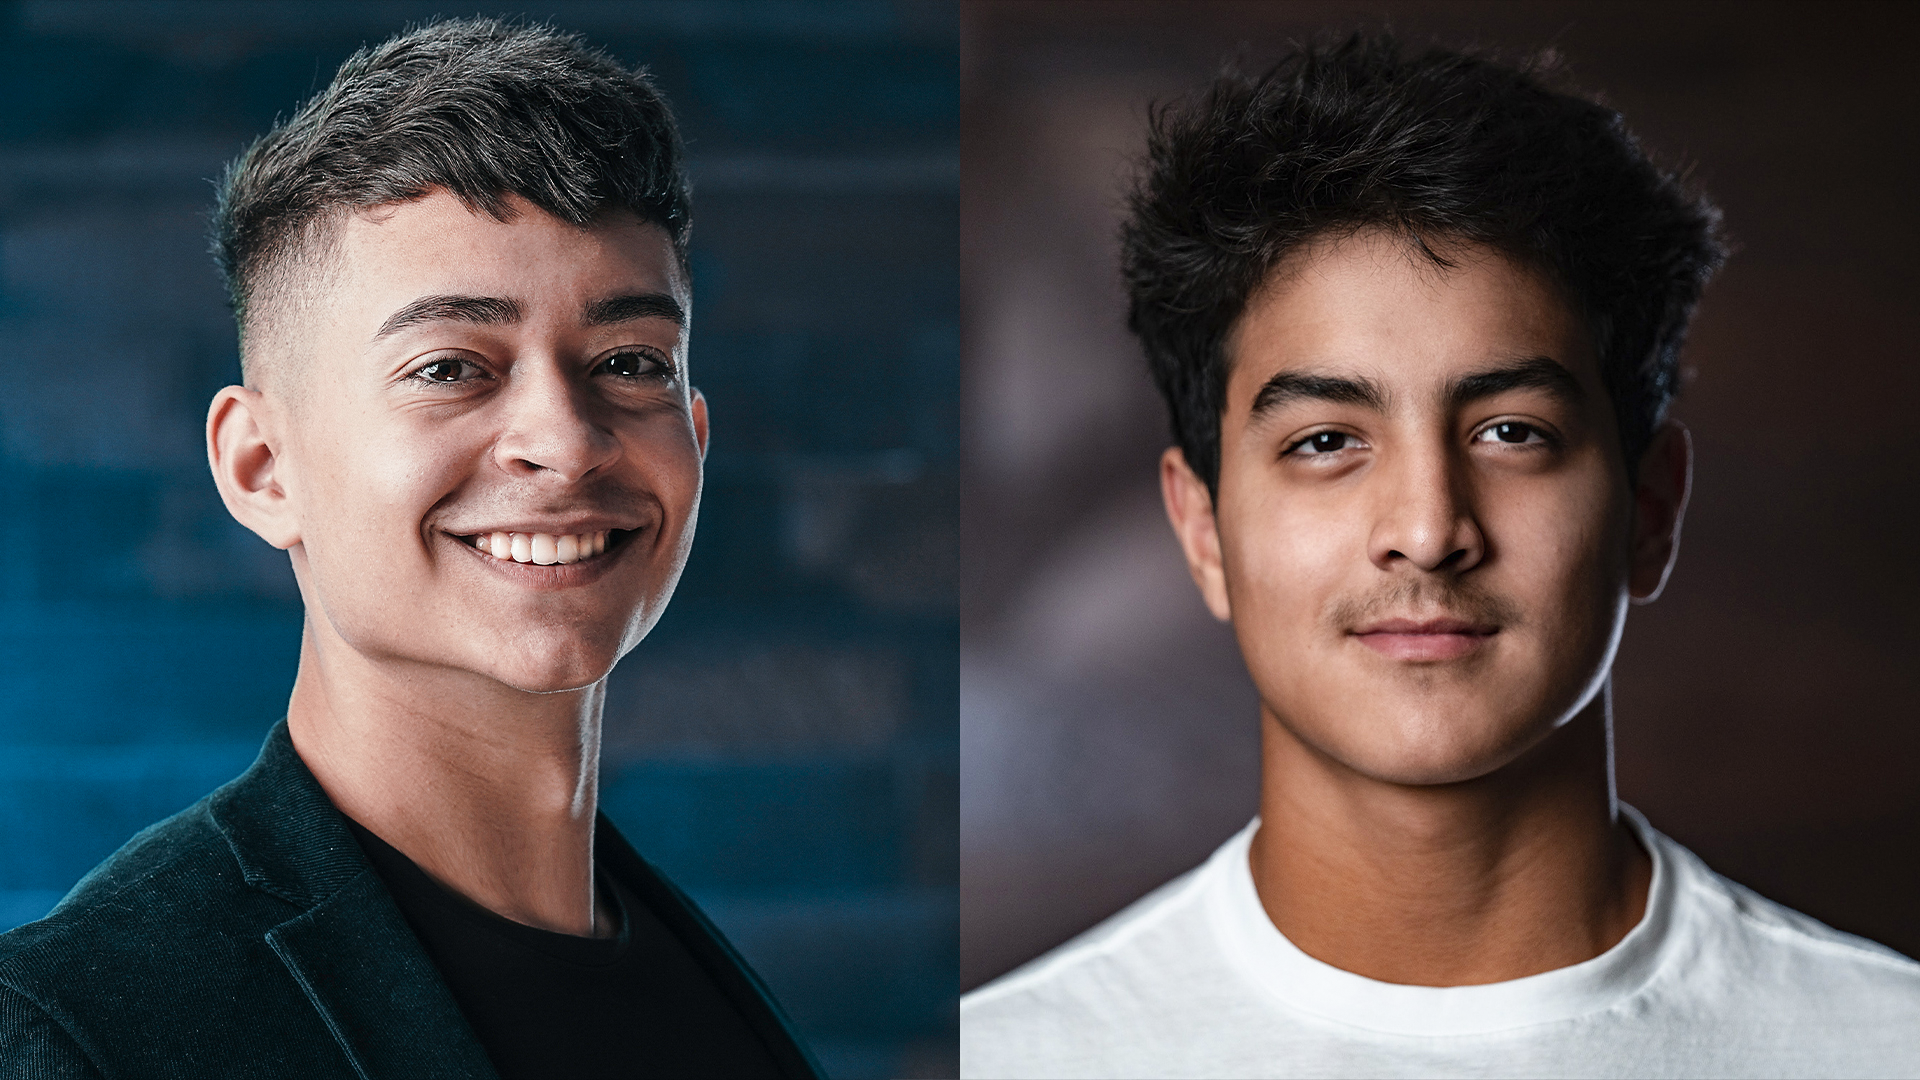
Capturing compelling head shot photos requires more than just technical skill; it demands an understanding of the subject. For a professional head shot photo, lighting, background, and posing are critical. Soft lighting, often achieved through diffused natural light or studio setups, is ideal for minimizing harsh shadows and creating flattering images.

Framing is another essential element. A classic professional head shot photo typically focuses on the face and shoulders, with a blurred background to ensure the subject remains the focal point. For men’s casual headshots, a more relaxed posture and natural expressions can help create a genuine, approachable look. Experimenting with different head shot photo ideas, such as varying angles or playing with lighting, can give the photo a unique edge.

Types of Portrait Photography

Portrait photography can take many forms, depending on the style and purpose. Male professional headshots, for instance, often lean towards formal and polished appearances, perfect for corporate use. On the other hand, men’s casual headshots may offer a more relaxed and personable image, making them ideal for social media profiles or personal branding.

For those looking to explore creative avenues, man portrait photography can involve more than just straightforward headshots. Environmental or lifestyle portraits can capture subjects in their everyday settings, giving a sense of context and storytelling beyond the standard professional photo. Whether capturing formal or casual portraits, understanding your subject’s goals and personality is crucial to delivering a photo that resonates.

Characteristics of Portrait Photography

Several key characteristics define successful portrait photography. Focus is one of the most important elements, with an emphasis on the eyes being critical in most male portrait shots. Blurring the background, known as bokeh, helps keep the attention on the subject while eliminating distractions. Lighting, as mentioned earlier, is another vital component, with soft, natural light often preferred for its ability to highlight facial features without creating hard shadows.

When it comes to head shots photos of men, particularly for male portrait pictures, attention to detail in wardrobe and grooming also plays a significant role. Clean, simple backgrounds and a well-prepared subject help create professional head shot photos that leave a lasting impact.

Whether you’re capturing men portrait shots for professional purposes or aiming for more casual, natural looks, the essence of portrait photography lies in its ability to reveal the subject’s character. By mastering elements such as lighting, composition, and framing, photographers can create stunning male portrait images that resonate with viewers. With so many possibilities for head shot photos, from formal corporate professional headshots to more creative takes, the opportunities to explore and innovate are endless. By understanding the different types of portrait photography and tailoring each session to the individual, the photographer ensures each portrait is as unique as the person being photographed.

Si necesitas ayuda personalizada agenda tus 30 min de consultoría gratuita dando click aqui

Siguenos: websiteinstagramfacebook

Herramientas Digitales para Editar tu podcast fácil y rápido

El proceso de creación de contenido audiovisual, como podcasts, videos y microcontenido, puede ser largo y complejo, pero con las herramientas adecuadas, se puede simplificar y acelerar considerablemente. Aquí, exploraremos paso a paso cómo optimizar la edición de grabaciones, desde el audio hasta las imágenes, pasando por transcripciones y recursos visuales.

  1.  Audio:

    Adobe Enhancer: Mejora la calidad del audio, eliminando ruidos de fondo y ajustando los niveles de sonido para obtener un resultado más claro y profesional.  
    Audacity: Permite limpiar el audio, eliminar ruidos de fondo y ajustar niveles, todo de manera sencilla y gratuita.
     

  2. Video:

    Adobe Premiere Pro:  Un estándar conocido por su flexibilidad y capacidad de manejar proyectos complejos. Ofrece una integración fluida con otras herramientas de Adobe, como After Effects, lo que permite añadir efectos visuales avanzados y gráficos en movimiento.

    DaVinci Resolve: Ofrece un conjunto completo de funciones para la edición de video, incluyendo corrección de color y efectos visuales.

    Filmora: Si se prefiere algo más intuitivo, es una alternativa asequible que combina facilidad de uso con un amplio conjunto de herramientas de edición.

    Final Cut Pro: Exclusivo para teléfonos y usuarios de Mac. Es conocido por su rendimiento rápido y fluido, especialmente en sistemas Apple, y ofrece una interfaz intuitiva que facilita la edición no lineal y el manejo de grandes volúmenes de metraje.

    Recursos:

    Pixabay, Pexels y Freepik: Son excelentes fuentes para obtener recursos visuales gratuitos y de alta calidad, como imágenes, vectores y videos. Ofrecen una vasta biblioteca de contenido libre de derechos, lo que facilita la creación de material visualmente atractivo sin costos adicionales.

    Motion Array: Proporciona una extensa biblioteca de recursos visuales y auditivos, como plantillas de video, efectos de sonido, y música libre de derechos.

    Musicbed: Proporciona música con licencia para proyectos audiovisuales, permitiendo a los creadores encontrar la banda sonora perfecta para sus videos.


  3. Transcripción y traducción:

    Otter.ai:  Es una opción excelente para transcribir audio automáticamente, lo que facilita la creación de subtítulos o la adaptación del contenido a diferentes formatos. Además, ofrece la posibilidad de editar las transcripciones directamente en la plataforma, ahorrando tiempo y esfuerzo.

    DeepL: Traducción de transcripciones. Se destaca por su precisión y facilidad de uso, permitiendo traducir textos largos de manera rápida y eficiente.

    Descript: Es una herramienta multifuncional que permite editar audio y video a través de la transcripción del contenido. Con su función de edición basada en texto, puedes ajustar el contenido simplemente editando las palabras en la transcripción, lo que hace que la edición de podcasts y videos sea más intuitiva y eficiente. 
     

  4. Descripciones y textos

Grammarly: No solo corrige errores gramaticales, sino que también ofrece sugerencias para mejorar la claridad y el estilo del texto.

Hemingway App: Ayuda a simplificar la redacción, haciendo que el contenido sea más fácil de leer y comprender.


En medio de este proceso, es crucial recordar que contar con los equipos adecuados puede hacer que todo sea mucho más fácil. Desde micrófonos de calidad hasta software de grabación, la elección correcta de herramientas físicas es fundamental para un resultado profesional. 

Si necesitas ayuda personalizada agenda tus 30 min de consultoría gratuita dando click aqui


Siguenos: websiteinstagramfacebook

Mi estudio de filmación en casa en 2024 | todo lo que uso para hacer videos

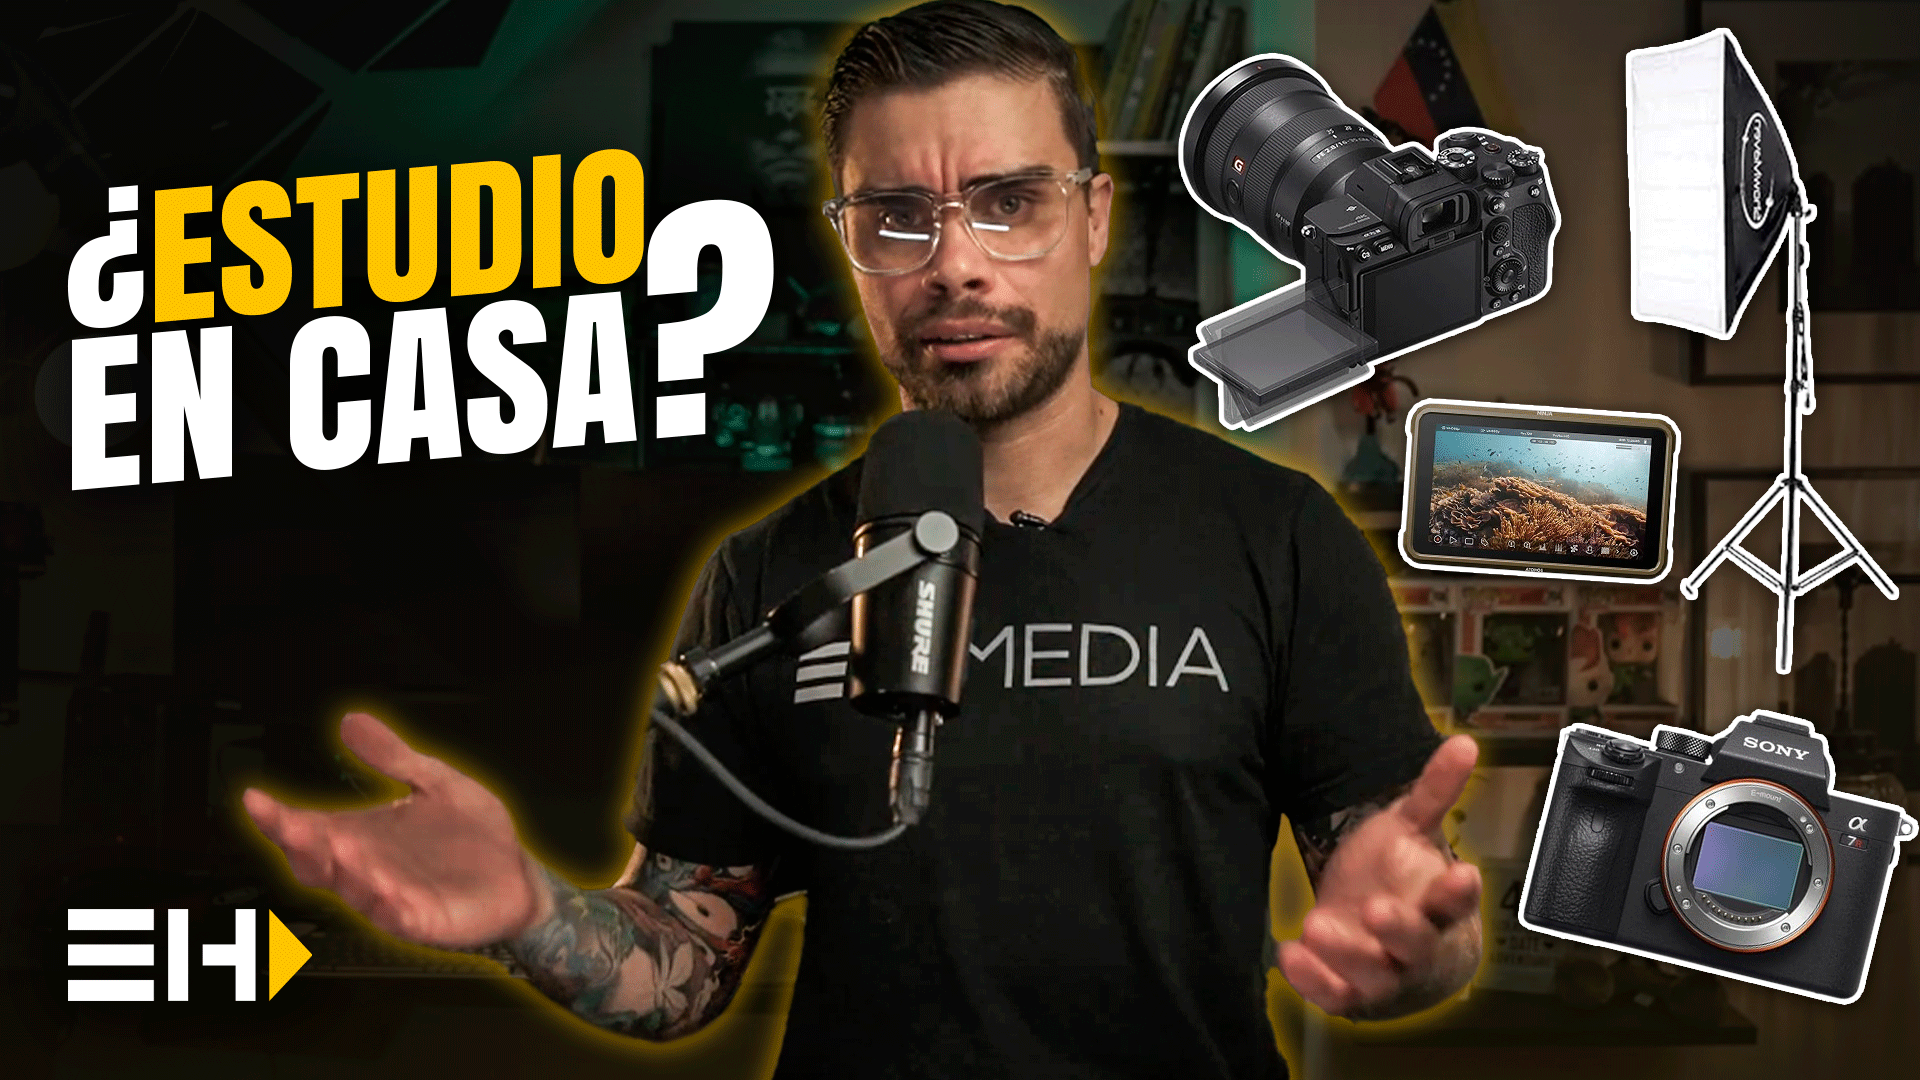
En 2024, la creación de un estudio de grabación en casa es más accesible que nunca, permitiendo a los creadores de contenido mejorar la calidad de sus producciones sin salir de su hogar. A continuación, te presentaré una guía práctica paso a paso de cómo lo hice y qué equipos usé para lograrlo.

  1. Elección del Espacio Ideal.
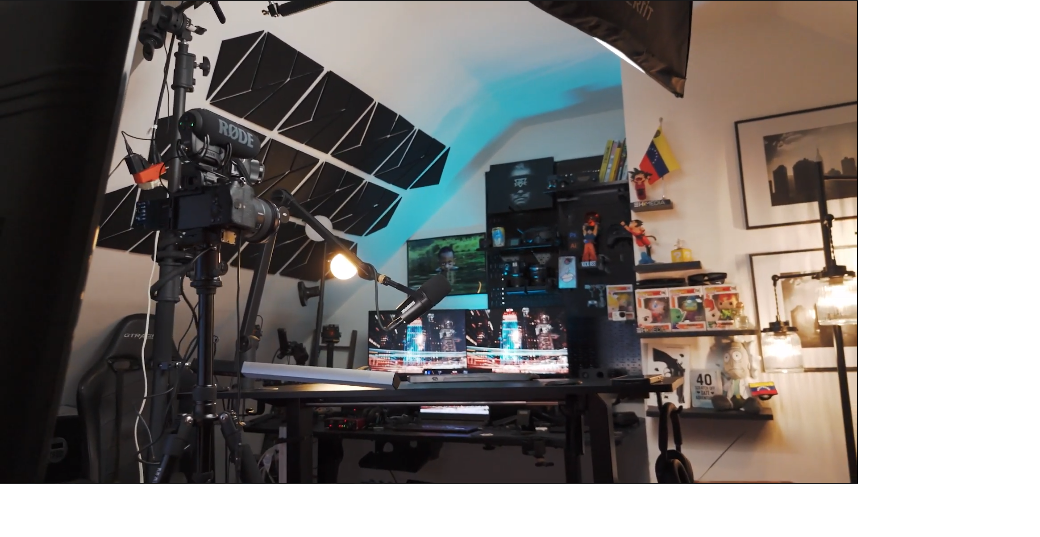
    El primer paso fue elegir el espacio adecuado. Opté por mi dormitorio, ya que es un lugar amplio, cómodo y donde me siento tranquilo. Organizar el área fue crucial, moví muebles y equipos para liberar espacio y aseguré que fuera un lugar donde me sintiera cómodo y productivo.

  2. Organización y Preparación.
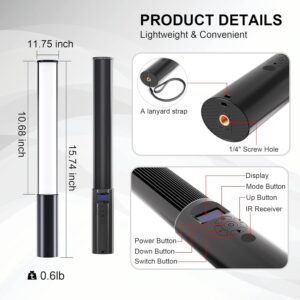
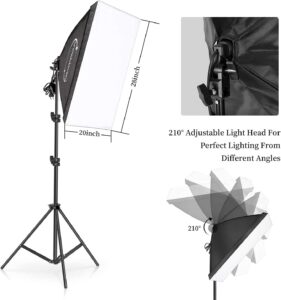
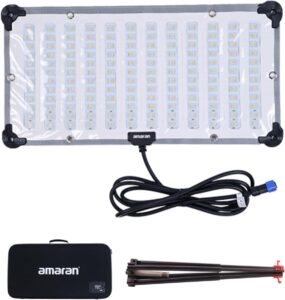
    Una vez seleccionado el espacio, hice una lista de los equipos que ya tenía y los que necesitaba comprar. Entre lo que ya tenía, estaban el Softbox Lighting, algunos trípodes, cámaras y lentes. En la lista de compras incluí luces de relleno como la Aputure amaran F21x Bi-Color V-Mount LE, luces RGB como la RGB LED Video Light para iluminación de ambiente, y la LED Video Light Wand Stick para iluminación cenital y de contrapicado. También compré Soundproof Wall Panels para mejorar la acústica y Noise Reducing Curtains para bloquear la luz natural.


  3. Equipamiento Esencial.
    La iluminación es crucial para cualquier estudio de grabación. Usé el Softbox Lighting para la luz principal, la Aputure amaran F21x Bi-Color V-Mount LE para ajustar la temperatura de color, y la RGB LED Video Light para un fondo dinámico. La LED Video Light Wand Stick fue perfecta para la iluminación cenital y de contrapicado, eliminando sombras indeseadas. Estas luces son esenciales para obtener una iluminación profesional en tus videos.


  4. Optimización del Audio.
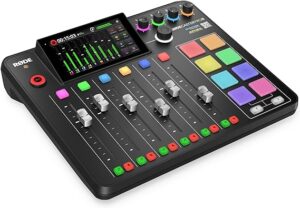
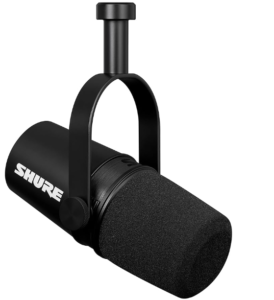
    El audio es tan importante como el video. Usé el micrófono Shure MV7X XLR junto con los Soundproof Wall Panels para reducir el eco y mejorar la calidad del sonido, tambien un Rode Caster Pro II para controlar distintos audios en caso de necesitarlo. Además, usé zip ties y Super Clamps con adaptadores de 1/4 y 3/8 para mantener los cables organizados y evitar enredos. Estas herramientas ayudan a mantener el estudio limpio y eficiente.


  5. Personalización del Espacio.
    Personalizar el espacio con elementos que me inspiren fue fundamental. Añadí Black Floating Shelves y un Organizer Wall Control para decorar y organizar algunas decoraciones. La incorporación de un Standing Desk ajustable me permitió trabajar tanto de pie como sentado, promoviendo la comodidad y la productividad. Este enfoque flexible asegura que el espacio se adapte a mis necesidades y tareas.

  6. Cámaras y Lentes.
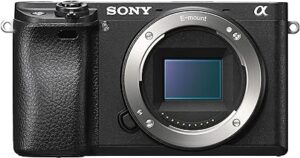
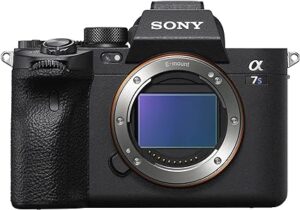
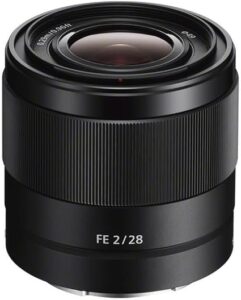
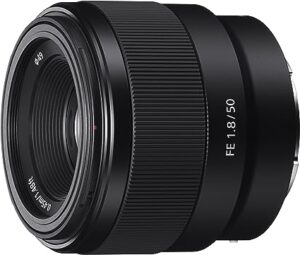
    Para obtener una calidad de imagen superior, usé varias cámaras Sony, como la Sony NEW Alpha 7S III y la Sony Alpha a7R III. También tengo la Sony Alpha a6300 y la Sony Alpha A6600 para tomas adicionales. En cuanto a los lentes, utilicé el Sony FE 24-70mm F2.8 GM II, el Sony SEL28F20 FE 28mm, el Sony FE 35mm F1.4, y el Sony – FE 50mm. Estos lentes son ideales para grabaciones en interiores y proporcionan una calidad de imagen nítida y detallada.


  7. Montaje y Ajustes Finales.
    El montaje de los equipos fue eficiente gracias al uso de un C Stand donde coloqué el Softbox Lighting, la LED Video Light y la Aputure amaran F21x Bi-Color. Esto me permitió ahorrar espacio y facilitar la reconfiguración del estudio según las necesidades. También instalé un monitor Atomos Ninja 5.2″ 4K HDMI para monitorear la imagen en tiempo real.

Crear un estudio de grabación en casa no tiene por qué ser complicado. Con una buena planificación y el equipo adecuado, es posible montar un espacio funcional y profesional que mejore la calidad de tus videos. Lo más importante es diseñar un estudio que se adapte a tus necesidades y te inspire a crear contenido de alta calidad.

Espero que esta guía te sea útil y te motive a crear tu propio estudio de grabación en casa. ¡Manos a la obra!

Si necesitas ayuda personalizada agenda tus 30 min de consultoría gratuita dando click aqui


Siguenos: Elvis H Media: website –  instagram facebook

¿Como emprender en el mundo de la cinematografía?

En el episodio de hoy tenemos como invitado especial a Abraham Rozenbaum quien es cineasta, escritor y editor. Abraham nos cuenta su historia, sus metas, experiencia y nos comparte consejos que nos ayudaran a emprender en el mundo de la cinematografía.

Cortometraje: Quedate en casa tu reto tu desafio | Cortometraje Independiente 2020 https://www.youtube.com/watch?v=xZ_Oz…

David F. Sandberg: Lights Out – Who’s There Film Challenge (2013) https://www.youtube.com/watch?v=FUQhN…

Elvis Higuera:

Abraham Rozenbaum

¿Cómo crear un estudio fotográfico casero?… sin fallar en el intento con Jordan cortes de Chile

¿Quieres saber cómo hacer estudio de fotografía en casa? En el episodio de hoy junto a nuestro invitado especial Jordan Cortez debatiremos acerca de cómo crear tu propio estudio fotográfico en casa. Además conversaremos acerca de cómo fue la experiencia de Jordan al emigrar de Chile a Estados Unidos y como este fue un detonante para descubrir su pasión por la fotografía la cual ya estaba oculta dentro de él. Lo más importante a la hora de crear un estudio fotográfico en casa es perder el miedo y entender que el dinero que inviertas no será un dinero mal gastado, a continuación compartiremos una lista de algunas herramientas que puedes conseguir en el mercado a un buen precio.

Softbox marca godox Flashes marca godox b1 Trigger Sombrilla fotografia Beauty dish ¡Recuerda siempre debes atreverte a hacer algo que nunca has hecho!

Síguenos en:

Elvis Higuera:

Jordan Cortes


¿Como a través de una cámara podemos emprender siendo inmigrante? Manuel Dominguez de Venezuela

¿Tienes un sueño que deseas llevar a cabo? ¿No sabes como empezar a hacer tu sueño realidad? ¿Sientes que tienes muchos obstaculos en el camino? En el episodio de hoy debatiremos junto a nuestro invitado especial Manuel Dominguez, quien es un venezolano, de profesión abogado. Manuel decidió seguir su sueño y hoy se dedica a compartir información que pueda ser de valor para otras personas que al igual que él estén persiguiendo sus sueños. En este camino Manuel ha aprendido a que todo se trata de pasión y convicción y así poder tener un propósito, que ningún obstáculo te detenga. Todo se trata de actitud, si tienes una idea debes mostrarte, darte a conocer, ¡deja la pena! Al principio darte cuenta de cuál es tu identidad no será sencillo pero debes probar que es lo que te funciona y así crear una identidad que te permita disfrutar lo que haces.

No te preocupes, se constante un día llegara el éxito y podrás recoger los frutos de lo que sembraste. La clave es descubrir tu pasión y comenzar a accionar ¡deja el miedo!

Elvis Higuera:

  • https://www.facebook.com/Elvishiguera…
  • https://www.instagram.com/elvishiguer..

Manuel Dominguez:

  • https://www.facebook.com/themanudomin…
  • https://www.instagram.com/elmanudomin…
  • https://www.youtube.com/channel/UC7Qs…
Translate »